
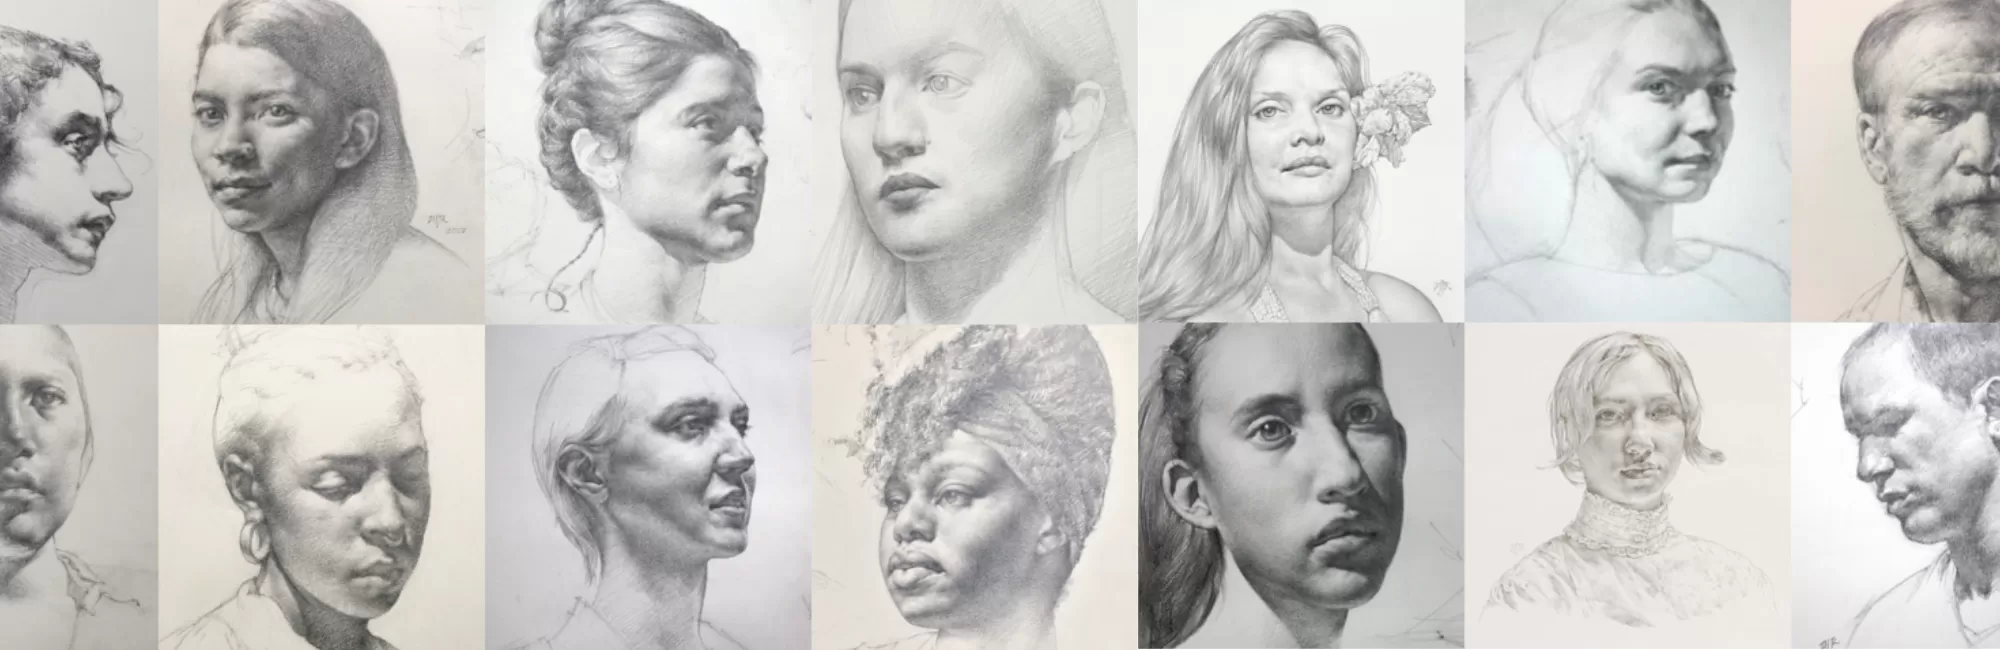
Intro to Portrait Drawing


One-week workshop w/Anthony Ryder
Medium: Graphite Pencil on White Drawing Paper
Course Description: Fundamentals of Portrait Drawing
All levels
Topics include:
· Drawing materials
· The use of the pencil in line and shading
· Block-in of the large shapes of the head, neck and shoulders
· Inner curve
· Principles and elements of light and shade
· Block-in of shadow shapes
· Development and refinement of the block-in shapes
· Block-in of the features
· Development of the contour
· Convexity in the shape as a whole and in the forms of the contour
· Origin points, high points and insertion points
· Modeling form in light and shade
· Rhythms and pathways of form and light
· Many other items of interest
· Questions and dialogue welcome!
Daily Class Schedule
Each day begins with a two-hour drawing demonstration. As he draws, Tony talks about what and how he’s drawing and how he’s thinking about the drawing while doing it. Many students have said that this real time narrative is very helpful. The demonstrations cover the handling of drawing materials, drawing procedure, and visual analysis. During the rest of the day the students draw from the model while Tony works with each student in turn, offering individualized advice.
Required Supplies
Paper:
Strathmore 400 Drawing pad, medium surface...18"x24" or 14”x17”
Pencils:
Three each: 2B, 3B,
Two each: HB, B, 4B, 5B, 6B
One each: H, 8B
Erasers:
1 Kneaded, gray, medium
Pentel Hi-Polymer White Cap Erasers ~ 10-Pk
Drawing Board:
For 18”x24” pad: 19 ½” by 25 ½” piece of one-half-inch-thick foam core.
For 14”x17” pad: 15 ½” by 18 ½” piece of one-half-inch-thick foam core.
Instructions:
Buy 30x40 sheet of one-half-inch-thick foam core and cut down to size. Use a sharp X-Acto or matte knife, and a straight, aluminum yardstick. Please watch your fingers! Save scraps for other uses.
Other:
Drawing Clips
Pencil box (Recommendation: ArtBin Sketch Pac Storage Box 6880AB)
A soft brush for dusting eraser crumbs
For sharpening pencils: #1 X-Acto knife + #11 blades, and/or 1 sheet 150 grade sandpaper
Mahl stick (if standing at easel)
Drawing bridge (if seated, see illustration)
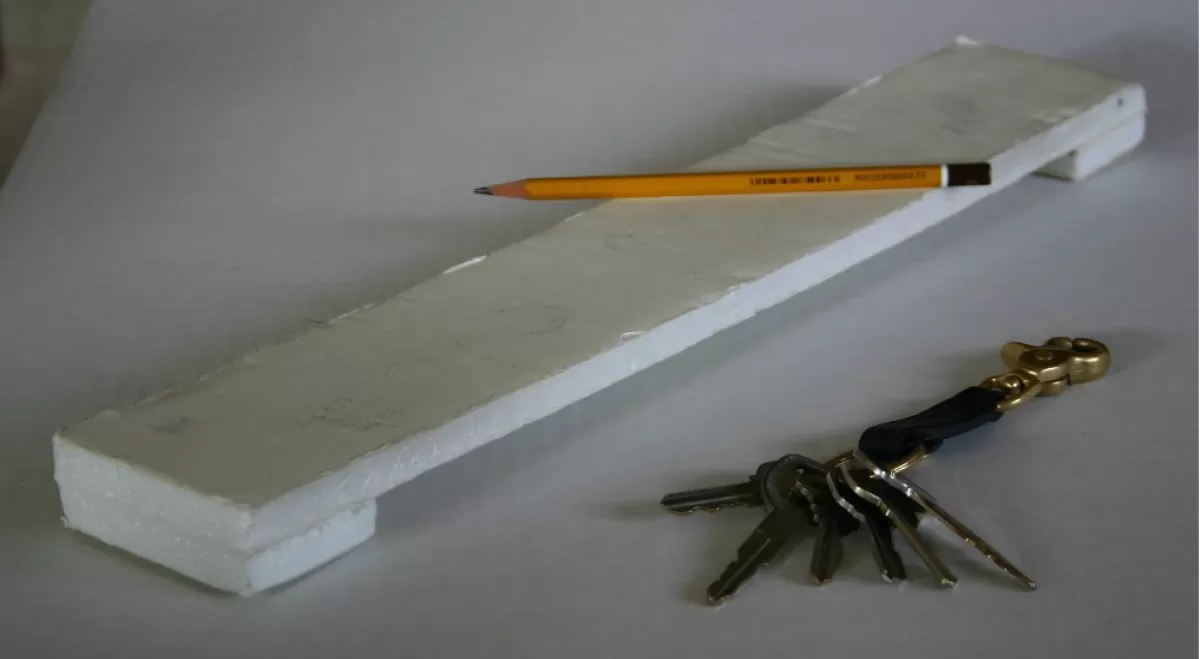
Drawing bridge
For 18”x24” pad: 18”x4”x1/2” foam core. Feet: 4”x2”
For 14”x17” pad: 14”x3”x1/2” foam core. Feet: 3”x2”
Instructions:
Use scraps from making drawing boards. Cut pieces to size. Attach feet with Elmer’s glue. Apply pressure with heavy art books. Allow glue to dry overnight.
Not shown:
For a longer lasting drawing bridge, apply feet on both sides. That way, when the bridge begins to bend downward, you can flip it over and use the other side.

Anthony Ryder
Tony Ryder is a capable and energetic instructor with over forty years experience teaching portrait painting from life. His unique instructional style combines careful personal...